It seems one of the most difficult tasks for woodworkers is finding a stain and finish system that's capable of giving consistent and durable results.
For many years I had used nitrocellulose lacquer for my projects with appropriate oil or water-based stains. One of the problems with lacquer is it is extremely volatile and subject to offgassing volatile organic compounds that could be dangerous from a health perspective.
With this in mind, I set out to try and adapt my system to replace the nitrocellulose system. One of my local suppliers was now carrying
General Finishes brand so I purchased a sanding sealer, a stain,and a waterbased top coat.
In the past my custom was to lay down a sanding sealer to prevent watching them build up a stain coat over this base.
Much to my surprise, the result was a disaster with a very, very poor take on the stain.
I tried a test sample using the stain alone and found that I could not control the color and again was faced with blotching where the stain penetrated some areas of the wood more deeply than others.
I then contacted customer service and they suggested I was using the product all wrong and that I should stain first and
then apply sanding sealer. I was disappointed with this result as well.
There well may be a way to use this product as suggested but I have exhausted my limited abilities at this point.
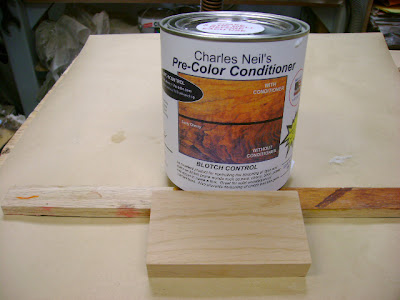
Quite unexpectedly, I ran across a video from our woodworking buddy Charles Neil who had just come up with a
 |
| From |
I watched the video and was intrigued by the absolute simplicity of the product and how effectively it controlled the problem I was experiencing.
I immediately got on the blower and ordered some for my own use which arrived promptly a couple of days ago. I performed tests on the product as soon as I got it to be sure I was using it correctly and that I could accomplish the results that I needed.
To be perfectly honest, I am astounded with this product. Not only does it fill the wood sufficiently to balance the stain but it rminimally raises the grain making subsequent passes much quicker and easier to perform.
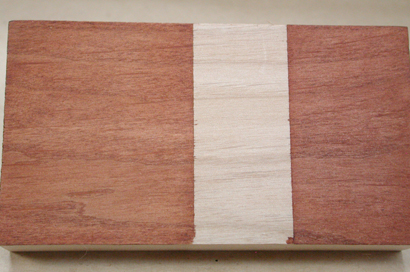
Here's a side-by-side comparison with the blotch control product on the right and the General Finishes on the left:
As you can see the results from General Finishes are far different from what I got using the Blotch Control as the first coat then the stain.(left sample) if you notice the sample on the right the stain at the top of the test is at least a shade lighter than the stain on the bottom. I applied a second coat of stain on the bottom to be sure I could build up the color if needed. As you can see, no streaking, no blotching!
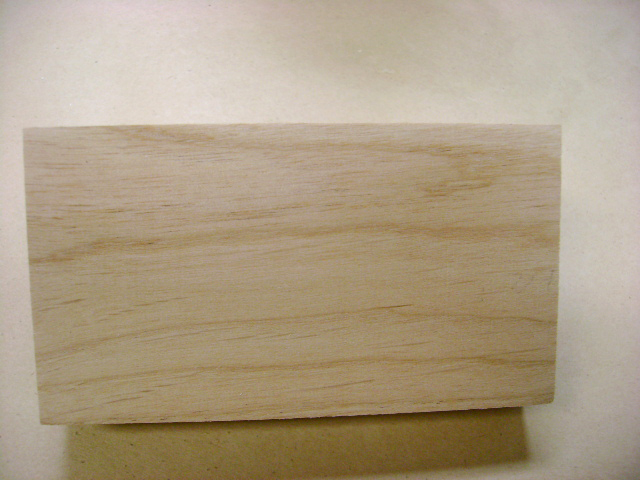
Here's a close-up showing how well the grain in this piece of Alder is reflected
through the stain and is actually enriched compared with the results on the left.
The other thing that I noticed was that the stain laid on top of the blotch control and seemed to maintain its color value better than the stain on the left which had mixed with the wood itself and actually gone off its original cherry coloring. Where I applied it over the sanding sealer it became quite streaky and blotchy. Not what I was looking for at all.
I'm confident enough at this point to go back to my current project(a folding chair/stool) and refinish it with this amazing product
Blotch Control as the backbone for my stain and topcoat.
I will keep you posted with the results.
At the request of the cyber pal of mine I hunted around the shop for piece of birch that I could stain to see how well the color/blotch control would work.
Birch is notorious for not taking stains well and for having very difficult grain pattern that can swing north to south in just a few inches along the board surface.
As luck would have it I did have a piece of
Spalted birch that was well beyond its useful life wormholes and soft patches.
I sanded one side down with 80 grit paper and applied 2 coats of blotch control with a two-hour dryand light scuffing with a 3M fine abrasive pad between each coat.
Out of curiosity, I hand sprayed one side with a small brush and wiped the dye stain on the other half with a webril wipe.
This next shot just shows both sides of the wood after drying for a couple hours.
The artifacts you can see on this picture on the top left hand area (the five white spots) are from the lacquer) spill I did clearing off the bench for another project.
This wood is highly figured but despite that and the softness of the spalted areas evidence of blotching is virtually nonexistent.
To put an end to this blog for the time being I wanted to share a photo with you all that shows haw the colour is affected after the finish has bee applied.
The center of the picture has blotch control and stain only.
The top part is blotch control and nitrocellulose lacquer.
The bottom is blotch control and General Finishes Poly Urethane satin.
Also note tah some of the dye disolved into the waterbased poly in the bottom example which is probably why General tried to come out with a sealer.


