Wednesday, February 13, 2013

Refurbishing a Vintage Jewelry Box

I found this jewelry box in a second hand store a couple weeks ago and thought it might be fun to try to refurbish it. It had seen better days but the style and size were still very popular. I have seen new ones similar to this retailing in the $200 to $300 range so I figured it wouldn't  be a really bad investment to see what I could do with.

Here's a picture of it before I started disassembling and repairing several scratched and dented areas plus removing the well used and well-worn velvet liner.


I cleaned up the several dings around the box and filled the area with furniture wax filler sticks from Lee Valley. They are mostly comprised of resin and colored to approximate several popular shades wood. I use an alcohol torch and a Dental Instrument to apply the patching material and smooth the patch with the back of an instrument to approximate the surface.

A little bit of gentle sanding and the dings were flush with the surface and ready for a bit of staining.
One of the feet was missing so I took a pattern of the opposite side and reversed it and milled out the profile on my router table and with a little judicious filing I was able to approximate the style of the other feet. 


 As you can see from the picture below the liner had seen better days so I very carefully spent a few minutes removing and storing it away in a safe place until I could get some more velvet and some card stock for backing.
Rather than completely remove the existing outside surface I chose to apply water-based stain to the entire surface and adjust the tone of the wood exterior to match the top which required complete stripping due to the damage on the surface.

 Here is a picture of the box stripped out with the hardware removed.  It looks like they used some sort of a hide glue originally.  The material I have on hand sets rather quickly so I decided  to use  Elmers' spray adhesive that I'm more familiar with .


This shows a picture of the blended stain which I hand rubbed with a piece of paper towel to even out the repairs and the several different shades that the many years of use of taken on the box.
 
 Shown here is the finished box with the nameplate reinstalled. I couldn't find a new plate for it at this time so I gently sanded off the original name and polished the brass the new flat surface . The finish that I'm using is an acrylic polymer from Target coatings.  It handles in many respects very similar to nitrocellulose which is no longer available to me . I find it will burns in quite well, it's relatively clear, and it responds well to polishing compounds used industrially .
 
  This picture shows the bottom drawer open with the new velvet added. I have yet to glue down the side liners as I wanted to complete all fitting of the liners to be sure that there weren't too many obvious flaws.
 
  This final shot shows the top and bottom along with the movable tray finished with the red velvet .  The color was not my first choice but here in the "Great White North" purchasing velvet can be a bit of a trial  both from the perspective of obtaining quality product and  having more than a limited choice of colors.  For my taste, I would have chosen a deeper royal red but surprisingly, this shows quite well .
 

Saturday, February 2, 2013

An adjustable miter frame for pictures

After an "exhilerating" experience with some offshore miter clamps I decided to investigate making something more reliable.

I started out with a 10 inch wide piece of 3/4" plywood and a rudementary plan from
WWW.CRAFTSMANSPACE.COM.
Caution, it's metric and translated into decimal inches. There's no directions so take your time and work it out.
I cut 4 - 26" strips 2-3/8" wide for the adjustable arms and layed out first the 3/4" recesses for the bolt heads and secondarily drilled the dimples out left by the forstner bit with a 1/4" bit to allow the bolts to pass through.
 

Next chore was to cut the 4  V blocks that the frame corners would sit in and the cross pieces to join the top and bottom members. The next picture shows the blocks notched and drilled and the cross bars milled and drilled. I chose a 5/16" threaded rod for more stablility than the suggested 1/4" .
Heres' the frame clamp assembled.

Here it is with a 50" mirror frame in place for the picture.
The jury's out until I get a couple of frames under my belt but it looks promising and it isn't from China!
 I can undo the center toggle and it stores quite well without taking up too much space.
here's the finsihed mirrors hung up on the dining room wall.


Sunday, January 27, 2013

Really Bad miter clamps

Last year I bought a set of four miter clamps from a local big box store tool department. (Rona Revy) Yesterday I took them out to help me building two picture frames to house a couple of mirrors I had cut to size. I had no idea until I began using them that they're quite obviously knockoff clamps designed to look like the original ones I once owned that were made in the USA. They certainly weren't inexpensive so I was quite surprised at the lack of attention to detail both by the manufacturer and subsequently by the distributor then the buyers at the big-box store. All  lines of defense protect me from my own stupidity were let down. I found on closer inspection once the joints had failed, in that one set of jaws on the clamp were mounted a good 3 mm higher than the jaws on the adjoining side. I spent a frantic hour yesterday pushing and pulling and wiping and cleaning and re-gluing and pushing and pulling and wiping before I realized that these clamps are junk.

I have no idea what I might have done with the invoice after this long period of time So bringing them back to the merchant would be an exercise in futility. That's why I'm posting this information on my blog to warn my fellow woodworkers once again to be prudent when shopping for woodworking tools. This first picture will give you an idea of just how much out of line to jaws really are
As you can see in the picture, there's a huge gap under the left jaw which should be parallel with the right jaw.

The next picture is a better idea of the type of clamp I was using.
And finally the last shot shows the brand name of this clamp as it was sold to me from the big-box
store.                        TOOLTECH


I couldn't do anything at all with these clamps and, in desperation,I called my wife and we laid out the frames and glued them. She held one end in place and I held the other and we both stood there like dummies until the glue set. Here's what we were trying to glue up.


Here's another shot of the miters. Not perfect but togther finally!
The next step is staining and finish.


Sunday, October 21, 2012

Using a Trephine to remove broken screws in Wood

If you do any furniture repair you have probalby come cross a screw or nail that has broken off flush with the wood surface.
Digging it out with prys or pliers generally damages the surrounding wood severely and can compensate the repair.

Enter the Trephine.

Borrowed from the medical and dental field this hollow steel tube sharpened with saw teeth can accurately core out a small section of the surrounding wood leaving a concentric hole that is easily repaired with a dowel plug.
Trephines currently come in 3 sizes and will handle most screws or nails found in common furniture products.
Here's an example of how they are used.
This picture shows a screw broken off flush with the end of a rung. If you have trouble centering the trephine cut a small guide hole in plywood scrap with the trephine and mount that with double sided tape to the top of the rung.
When the surface is cleaned to allow the drill to sit flush against the rung the trephine is gently pressed into the surface with short drill bursts and allowed to clear the debris before continuing.
Once the screw has been tunneled along it's entire length you can use a sharp instrument to pry away the wood between the screw and the kerf until the screw frees up.
Here the screw is out and the hole debrided you can fit a length of doweling in the hole or custom
 turn a matched piece if the repair will show.
 
A narrow chisel will take care of the remaining splinters by twisting it in the channel. If you have a suitable drill bit you can try this as well.


Once the screw is out and the hole debrided you can fit a length of doweling in the hole or custom
turn a matched piece if the repair will show.
Here's the finished repair ready for a new screw or nail.
I purchased mine from Highland woodworking . You'll find them under screw extractors.
 

Sunday, May 20, 2012

Taming tear out on finger joints - Baltic Birch plywood

I’ve become accustomed to using quarter inch plywood with finger joints to build storage boxes for some of my tools.The reason I chose this method is that by using finger joints I don’t require any additional support for the box and given the rather thin quarter inch exterior is not a lot of room for additional support for dadoes or splines.


Most recently, I purchased a new sheet of quarter inch Baltic Birch. The stamp on the material tells me it came from Eastern Europe and quite possibly Russia.

I ran into a problem with the sheet in that there was  unreasonable amount of tearout while cutting and milling the product. Repeated attempts to cut a joint that at least, could serve as a storage box in the shop led to disappointment. The wood splintered, it chipped front and back, the internal layers between fractured and fell out.
In frustration, I gathered up a couple of samples and tossed the rest of the sheet into the truck and returned to my supplier. They explained to me that they "had not had any complaints except for mine" regarding this product and suggested that I tape both sides of the joint with painters tape and or use sacrificial wood strips on either side of the joint.

I returned home rather disappointed and patched up enough wood for the project to put it bed for the time being.
 Today I had another opportunity to go over my work and take a very close look at the bits I was using to cut the joints.
I had tried a single blade quarter inch a double bladed blade quarter inch on 1/4 inch shaft as well as a double blade quarter inch on a half-inch shaft. In addition I used a 1/4 inch solid carbide spiral up cut carbide all without reasonable improvement.


I began to think that there must be something in the process of making the plywood that made it different from other batches I had used over the years. There were the same number of plies as before and the thickness of the Baltic Birch itself was dead on one quarter of an inch so I ruled that out. I tried to see if the material used inside the plywood was different from what I’d use previously but was unable to tell from such a small sample. The internal layers where breaking off as I milled the finger joints so they were either made from a very brittle wood or the glue used to binding the layers was more brittle than I was used to.

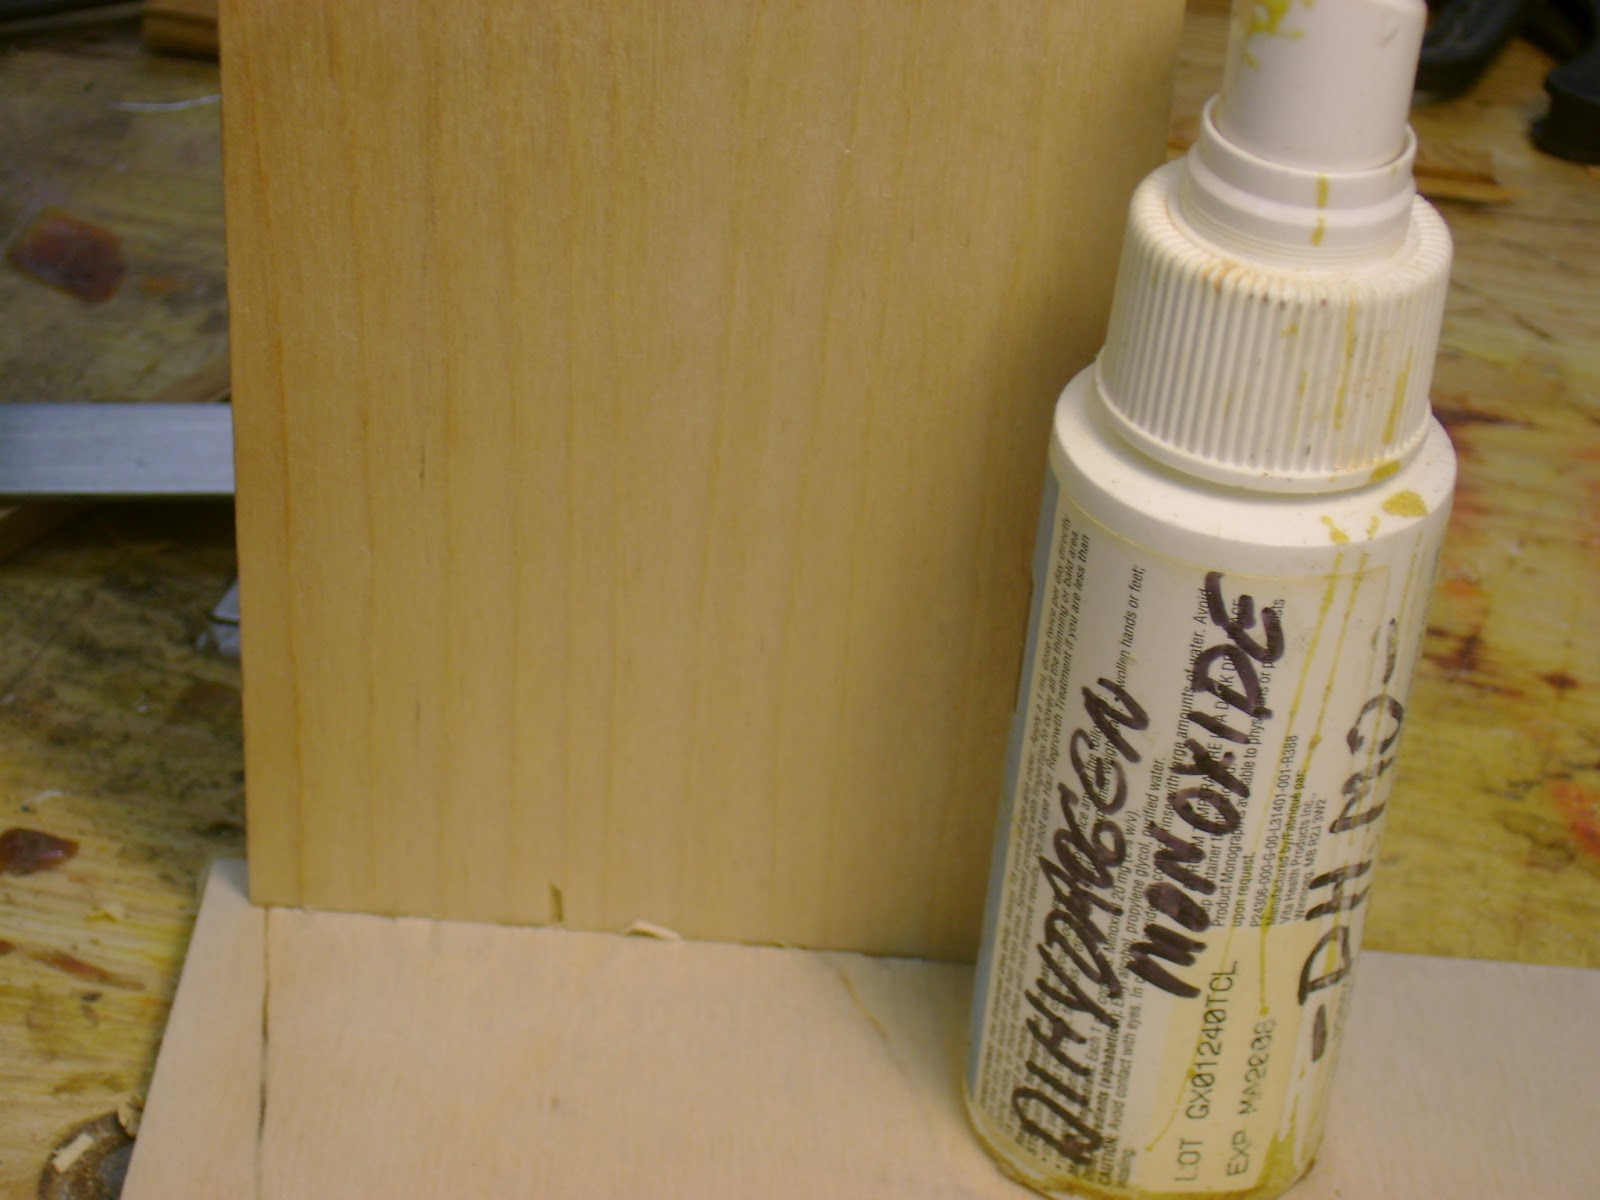
I decided to try longshot, I got a small spray bottle, put some water in it and lightly sprayed both sides of a test sample.
There was just enough moisture there to be visible to the naked eye and I used paper towel to remove the excess.I let the wood set for about five minutes in order to have the moisture penetrate and proceeded to mill several joints.
Surprisingly, this method worked and I was able to mill about 10 joints without a single joint exploding against the bit.
I think at this point, I could recommend this method to help overcome brittle wood when cutting dovetails keys or finger joints. I also found tear out along the table saw cuts as well and if you’re having trouble there you might try this method as well.

I have concluded that the wood used is not as good as it  once was and that the filler layers may be substandard for this purpose. I also wonder if the wood had been subject to undue heat and pressure in order to speed up the manufacturing process and increase profits. At any rate the material cuts like glass and needs every precuation to prevent tearout. For the time being, this seems to work for me.

Sunday, June 5, 2011

DeWalt DWP611PK 1-1/4 hp Router Kit

From dw611 router kit

Having first seen this router on the United States Dewalt website last October, I was finally able to track one down here in Canada June 5, 2011.
(7 months later)
Compact routers are great for working with trim, laminates, veneers and many other types of precision woodworking tasks. They're easy to use and maneuver, and offer power enough to tackle a wide variety of projects. The DeWalt DWP611 Variable Speed Compact Router is a true stand out in the compact router category. It features a powerful 1.25 HP motor that will breeze through even the most demanding tasks, and the variable speeds allow you to dial in just the right amount of power the job calls for. The soft start features will reduce the chances of chipping and cracking during startup, and the electronic feedback control helps maintain consistent motor speed throughout the cut. The key to router accuracy is a good view of the cut area, and the DWP611 offers 2 bright LED's and a clear sub base that combine to give you the clear view you need for the most accuracy possible. The DeWalt DWP611 Variable Speed Compact Router is a feature rich and affordable way to take your woodworking projects to the next level.


From dw611 router kit
A very well put together video by Gord Graff convinced me that this would be my go to router system for small jobs not requiring a router table. I was also interested in something lighter in weight that I could use with my Leigh dovetail jig.
Yesterday I unpacked the router and briefly reviewed the accompanying instructions.
I understand that there are accessories for this router system but they are poorly described in the brochure and apparently not described at all on the website.
I did ask when I purchased the kit if the dealer had been given additional information but apparently they had not.
The accessories I am refering to are pretty much standard fare for routing in today's world. I was expecting information about fence system and further information regarding dust collection which at present,the world considers "optional". I was not expecting these options free but could have used the part numbers for them to obtian info and availabilty.
I did find out from the brochure that in order to equip both the fixed base and the plunge base I will require two fences and two dust collection cups. As there are no part numbers for these accessories the task will be daunting given my experiences over the last seven months with the DeWalt website and their Canadian representatives here in the West.
I managed to find a fence from another router that fits the plunge base but nothing for the fixed base as yet.
From dw611 router kit
Breaking up the kit
The 1-1/4 HP router motor assembly comes with two built-in LED lights. I've found that because of their position and the angle of the lights themselves that they only will illuminate the working area so long as the distance from the motor to the product is greater than 1 inch
From dw611 router kit
Any closer than that and there is no illumination at all around cutting bit. That was one of the features that I was looking forward to with this product and it's surprising that this was not addressed. This will be a problem for those of us that use a jig between the router and the work piece as illustrated here:

From dw611 router kit
I realize that from an engineering perspective they probably had to be machined where they currently sit but it would have been nice had they injection molded a light deflecting prism to reflect the light more directly on the work area. Also I noticed right away that it would've been helpful for set up if the lights could be turned on and off without starting the router motor. They are currently connected to the on-off switch. This makes setting up for a cut harder than it should be.
Both bases are simple to remove from the motor and easy to adjust.
I like the variable speed and the soft start on the motor as it gives me lots of control over cut rates and over heating of bits in some circumstances.

Incidently, at time of writing this blog the best information for spare parts and accessories seems to be Toolsplus.com Kudos for taking the time to help out the consumer.

What I have now is an extra fence for the fixed and plunge router and a centering device to fix the base for use with a guide bushing.
From dw611 router kit


The auxilary fence is relativley striaght forward to assemble.
From dw611 router kit

You have to remove the 4 screws on plastic base to install the fence to the casting and reverse the process to remove it.
No you don't!
After assembling the jig and taking a closer look at the sub base I find that there are indeed two holes in the base through which I can screw on the auxillary fence. I would be embarrassed with the oversight had I not read the non exisitent instructions.
The unit ( mine) was shipped with the fence positioned upside down. -A bummer for the newbies.
I have no idea what the metric and imperial rulers are supposed to measure. There seems no zero point???

The fence provided for the plunge router base is adapted to fit the Dewalt track saw track and, as such, becomes an expensive substitute for a simple fence.( around $49.00) I managed to find an orphan fence in my tools that will suffice for this router rather than spend another $50 for yet another accessory.

From dw611 router kit

The base centering spindle affair is pretty straight forward but I can't see how it is an "extra" accessory given the fact that you need something to center the base should you ever need to remove it.

From dw611 router kit


Lastly the dust collection cup is now being ordered as it was not listed with the other accessories and the fellow that helped me had to google it to find a part number before he could search the Dewalt tools database to order it.
Somebody at Dewalt needs to review the parts lists and the website to get the information out to the endusers. The dealers say they have no info and don't stock parts and the parts and service say they normally dont stock parts for new products. I find this a bit confusing.

While waiting for the dust collection cup to arrive from Dewalt I ran a box to contain the router , bases and extras to hopefully avoid misplacing parts of the system. The kit came with a small canvas bag but I gave it to my wife to hold her battery cables in her car.
From dw611 router kit
I photostated the cover from the cardborad shipping box and glued them to the boxe. Using finger joints I was able to build the box with 1/4" fir plylwood and finger joints with a sliding lid.
From dw611 router kit
I made up a box for my Fein Muti tool as well.
From