The jig is fairly straight forward but you do have to read the text a couple times to make sure you understand the instructions properly, or at least I did. The size of the wooden blanks is critical in order to make this jig work properly as is the distance from the pivot point on the trammel to the outside edge of your chosen router bit. The spacers are also critical so make sure when you make them that you do them all at once or be very careful if you need to do two batches.
The instructions suggested a 1/2" spiral up cut bit but I don't have one on hand . Instead I used a 3/8" cutter and it seems to be just fine.
The second mistake involved not setting the depth of cut stop securely on the router. After a couple of cuts the bit eased out and spoiled the first bank.
I also found that making several passes with the router produced a cleaner and sharper groove that just dropping the bit and plowing through the wood. There was negligible burning this way as well.
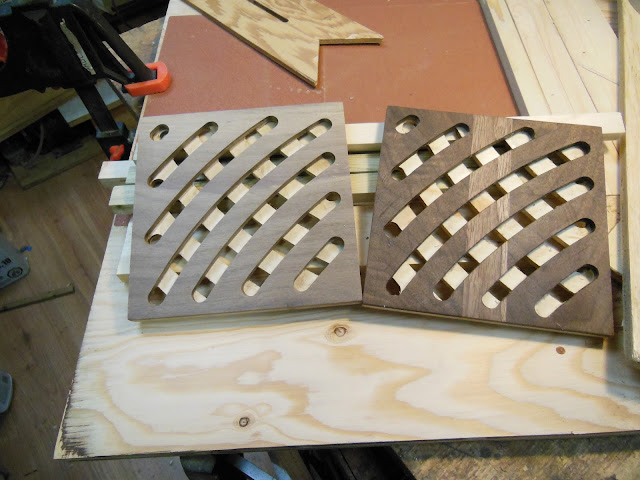
I started to hit my stride on the third attempt and shown here are two examples that made the grade.
With Christmas coming up you may want to give this project a try and make some useful stocking stuffers.
They sure to be a hit with the cooks in your family.
I managed to get 2 pieces cut so far as I had to mill pieces of walnut and Manitoba maple to 1/4" thickness and glue them up before cutting blanks. The trivet on the right has an extra piece of walnut down the center as I couldn't find any 6" stock in my horde. It is coated with Claphams salad bowl finish but I will just use mineral oil on the rest I think.
This is a shot of the trammel showing the peg on which it pivots. Note the 1/2' stick at the right end of the jig that serves to land the router at the end of each pass.
This picture shows the carbide cutter just clearing the walnut to expost the lighter maple wood.
This shows the set up for cutting the opposing side of the trivet.
This one looks like it will do. A little deeper on one pass but I will live with it.


